안녕하세요.
이번에 SwiftData를 직접 사용해 보기 위해
SwiftData 출시 전에 메인으로 사용된 CoreData와 어떤 차이가 있는지 정리한 글입니다.

Core Data

Core Data는 최상위 객체로 Container가 있으며, Container는 Model, Context, Coordinator를 생성 및 관리한다.
Model
NSManagedObjectModel은 CoreData를 통해 저장하고자 하는 데이터 모델을 나타내는 객체이며, .xcdatamodeld를 통해 모델 구성이 가능하다.
.xcdatamodeld를 통해 Entity, Attribute, Relationship를 설정할 수 있으며, .xcdatamodeld 파일을 빌드하면, .momd 파일이 생성되는데 이를 읽어 NSManagedObjectModel 객체를 생성한다.
let modelURL = Bundle.module.url(forResource: "DataModel", withExtension: "momd")!
let model = NSManagedObjectModel(contentsOf: modelURL)!
let container = NSPersistentContainer(name: "DataModel", managedObjectModel: model)
만약, Model의 변경이 불가피할 경우, .xcdatamodeld 클릭 → Editor → Add Model Version을 통해 새로운 버전의 모델 파일 생성 후 이전 모델과 매핑 시켜야한다.
Context
NSManagedObjectContext는 객체 저장, 삭제, 수정, 읽기를 수행하며, 객체의 변경사항을 추적한다. 여러 Context가 하나의 객체를 추적하고 있다고 가정했을 때 특정 Context를 통해 객체를 수정할 경우 해당 Context에만 변경사항이 기록되고, 다른 Context에는 영향이 가지 않는다. 즉, 참조의 개념보단 복사의 개념과 비슷한 느낌(?)
또한, 객체를 수정할 경우 변경 사항이 바로 영구 저장소에 업데이트 되는 것이 아닌 메모리에 먼저 기록되고, 이후 영구 저장소에 save() 메서드를 호출시켜 커밋해야한다.
Concurrency
Core Data는 Thread Safe하지 않기 때문에 data race에 주의해아한다. Core Data는 기본적으로 Context가 생성된 Thread 혹은 Queue에 종속되며, 읽기, 쓰기, 수정, 삭제를 수행할 경우 Context가 생성된 쓰레드에서 수행되어야한다. 예를들어 Context가 Main에서 생성된 경우 읽기, 쓰기, 수정, 삭제 처리를 Main에서 처리되도록 신경써야한다.
만약, 별도의 쓰레드에서 생성된 Context를 다른 쓰레드에서 사용해야할 경우 perform(:)와 performAndWait(:)를 사용해 Context가 생성된 쓰레드에서 처리될 수 있도록 해야한다.
Coordinator
NSPersistentStoreCoordinator는 Context와 SQLite와 같은 영구 저장소를 이어주는 핵심 요소이다. 때문에 개발자는 특정 데이터를 읽어올 때 복잡한 쿼리문 대신 NSFetchRequest를 사용해 손쉽게 데이터를 검색할 수 있다.
let request: NSFetchRequest = {
    // Create a fetch request.
    let request = ShoppingItem.fetchRequest()

    // Limit the maximum number of items that the request returns.
    request.fetchLimit = 100

    // Filter the request results, such as to only return unchecked items.
    request.predicate = NSPredicate(format: "isChecked = false")

    // Sort the fetched results, such as ascending by name.
    request.sortDescriptors = [NSSortDescriptor(keyPath: \ShoppingItem.name, ascending: true)]

    return request
}()

데이터를 저장할 경우 Coordinator에 의해 .sqlite 파일이 생성되는 것을 확인할 수 있다.(iOS의 경우 영구 저장소로 SQLite만 사용)
wal(Write-Ahead Log) 파일:
데이터베이스에 대한 변경 사항이 실제 데이터 파일에 반영되기 전에 임시로 저장되는 로그 파일입니다.
이 파일 덕분에 트랜잭션 성능이 향상되고, 데이터 무결성을 유지할 수 있습니다.
shm(Shared Memory) 파일:
여러 프로세스나 쓰레드가 동시에 데이터베이스에 접근할 때 동기화를 돕는 역할을 합니다.
이 파일은 데이터베이스 연결 간에 필요한 정보를 공유하여, 동시 접근 시 발생할 수 있는 문제를 예방합니다.
Swift Data
공식문서에서는 Swift Data를 다음과 같이 소개한다.
Core Data의 입증된 지속성 기술과 Swift의 최신 동시성 기능을 결합한 SwiftData를 사용하면 최소한의 코드와 외부 종속성 없이 앱에 지속성을 빠르게 추가할 수 있습니다.
매크로와 같은 최신 언어 기능을 사용하여 SwiftData를 사용하면 빠르고 효율적이며 안전한 코드를 작성하여 앱의 전체 모델 계층(또는 객체 그래프)을 설명할 수 있습니다.
공식문서를 통해 SwiftData의 탄생 배경을 추측해보면 다음과 같다.
- 매크로와 같은 최신 언어 기능을 사용해 빠르고 효율적으로 서비스에 영구 저장소를 구축하기 위해
- 앞써 언급했던 CoreData의 Thread Safe하지 않은 문제를 최신 Swift 동시성 기능을 통해 쉽게 컨트롤 하기 위해
SwiftData의 핵심 객체는 다음과 같다.
- Model
- Model Context
- Model Container
대부분 객체가 CoreData에서 사용된 네이밍과 동일하다.
Model
Core Data에서 영구 모델을 생성하기 위해서 .xcdatamodeld 파일을 사용해야 했다. .xcdatamodeld 파일를 통해 생성된 모델 객체는 init(context:) 생성자를 통해서만 생성이 가능하기 때문에 기존 모델과 약간의 차이가 발생한다. 다시말해 기존에 모델을 영구 모델로 만들기 위해서는 .xcdatamodeld 파일을 통해 따로 만들어 줘야한다는 뜻
하지만, Swift Data의 경우 @Model라는 메크로를 통해 손쉽게 기존에 이미 사용 중인 모델을 영구 모델로 만들 수 있다.
import SwiftData

// Annotate new or existing model classes with the @Model macro.
@Model
class Trip {
    var name: String
    var destination: String
    var startDate: Date
    var endDate: Date
    var accommodation: Accommodation?
}
@Model를 통해 만들어진 영구 모델은 외부에서 그냥 모델 객체와 인터페이스가 동일하기 때문에 기존에 작성된 코드를 어느정도 그대로 유지할 수 있다.(경험상…)
// Core Data
@Environment(\\.managedObjectContext) private var viewContext

let newTrip = Trip(context: viewContext)
newTrip.name = name
newTrip.destination = destination
newTrip.startDate = startDate
newTrip.endDate = endDate

// Swift Data
@Environment(\\.modelContext) private var modelContext

let trip = Trip(
    name: name,
    destination: destination,
    startDate: startDate,
    endDate: endDate
)
또한, Observable protocol을 내부적으로 채택하고 있기 때문에 SwiftUI을 사용하는 경우 변경에 따른 UI 업데이트 또한 가능하다.
Model Context
Core Data의 NSManagedObjectContext와 거의 동일한 역할을 한다. Model Context 또한 Model의 변화를 추적하고, 이를 메모리에 기록한다. 이후 save()를 호출하면, 기록하고있던 변경사항을 영구 저장소에 커밋하는 형식이다.(Core Data의 Context와 매우 유사)

이처럼 Context가 변경 사항을 기록하고 있기 때문에 커밋 전까지는 되돌리는 것이 가능하다. 예를들어, 제거한 데이터 복구와 같은 작업이 가능
Swift Data는 Core Data와 다르게 시스템 이벤트(포그라운드, 백그라운드 전환등의 이벤트) 발생 시 Context가 추적하고 있던 변경 사항을 자동으로 커밋한다. 만약 해당 기능을 사용하고 싶지 않다면,
@main
struct TripsApp: App {
   var body: some Scene {
        WindowGroup {
            ContentView()
        }
        .modelContainer(for: Trip.self, isAutosaveEnabled: false) //<---
    }
}
위 코드와 같이 isAutosaveEnabled를 false로 설정하면 된다.(기본값 true)
Fetch
Core Data의 경우 복잡한 쿼리문 대신 NSFetchRequest를 사용해 원하는 데이터를 검색할 수 있었다. 하지만, Swift Data는 그보다 한층 더 긴편한 방법으로 데이터를 검색할 수 있다.
만약, SwiftUI와 함께 사용한다면,
struct FavoriteRecipesList: View {
    static var fetchDescriptor: FetchDescriptor<Recipe> {
        let descriptor = FetchDescriptor<Recipe>(
            predicate: #Predicate { $0.isFavorite == true },
            sortBy: [
                .init(\\.createdAt)
            ]
        )
        descriptor.fetchLimit = 10
        return descriptor
    }

    @Query(FavoriteRecipesList.fetchDescriptor) private var favoriteRecipes: [Recipe]

    var body: some View {
        List(favoriteRecipes) { RecipeRowView($0) }
    }
}
위와 같이 간단하게 영구 저장소에서 값을 읽어올 수 있으며, SwiftUI를 함께 사용하지 않는 경우에도
let favoriteRecipes = try modelContext.fetch(descriptor)
Model Context를 통해 fetch할 수 있다.
Concurrency
Model Context 중엔 mainContext가 있다. mainContext는 MainActor를 상속받기 때문에 Main Thread에서 동작하기 때문에 동시성 문제를 해결할 수 있다.
🤔 Core Data에도 viewContext라는 main Queue에서 동작하는 Context가 존재하는데 같은거 아닌가요?
▶ Core Data의 viewContext는 Container가 생성될 때 자동으로 Main Queue를 통해 생성되어 Main Thread에서만 동작할 수 있는 Context이다. 만약, 해당 Context를 다른 Queue에서 처리할 경우 동일하게 Data Race가 발생한다.
Model Container
Core Data에서 Container는 Model, Context, Coordinator를 생성하고, 관리하는 역할을 한다. 하지만, Swift Data에서는 보다 더 많은 역할을 수행한다.(Container + Coordinator 느낌?)
- 스키마(Model Type 구성)를 통해 데이터 베이스 생성 및 중간 다리역할
- 저장 방식 설정(Disk, Memory)
- 버전 관리
let fullSchema = Schema([
    Trip.self,
    BucketListItem.self,
    LivingAccommodations.self,
    Person.self,
    Address.self
])

let trips = ModelConfiguration(
    schema: Schema([
        Trip.self,
        BucketListItem.self,
        LivingAccommodations.self
    ]),
    url: URL(filePath: "/path/to/trip.store"),
    cloudKitContainerIdentifier: "com.example.trips"
)

let people = ModelConfiguration(
    schema: Schema([Person.self, Address.self]),
    url: URL(filePath: "/path/to/people.store"),
    cloudKitContainerIdentifier: "com.example.people"
)

let container = try ModelContainer(for: fullSchema, trips, people)
ModelConfiguration을 통해 저장소를 분리하는 것도 가능
마무리하며...
Core Data와 Swift Data 장담점은?
Swift Data
- 장점
- .xcdatamodeld와 같은 외부 파일을 사용하지 않고 순수 Swift 코드로만 영구 저장소를 구성할 수 있다.
- Actor를 활용한 Data Race 방지(mainContext 사용할 때)
- 편리한 사용성과 가독성 특히 SwiftUI와 호환성이 좋음
- 단점
- 지원 버전(iOS 17.0)
- 이미 Core Data를 사용중이라면 굳이 Swift Data로 전환해야할 필요성까진 못느낌
- 안정성(블로그를 읽다보니 cloudKit과 문제가 있는듯 함)
Core Data
- 장점
- 긴 역사로 인한 안정성
- 너무나도 많은 자료(?)
- 단점
- 런타임에 외부 파일을 통해 저장소를 읽어와야 하다보니 에러가 발생할 가능성이 있음
- .xcdatamodeld 파일로 Model을 설정해야하다 보니 러닝커브가 좀 있다고 느껴짐
- Data Race에 신경써야함
직접 사용해본 결과 상용 서비스에는 CoreData가 적합해 보임
현재 Core Data를 사용하고 있는데 Swift Data로 전환하고 싶은데 가능한가요?
Migrate to SwiftData 해당 WWDC 영상에서는 전환 및 공존이 가능하다가 설명한다.
근데 의문인 점은 Core Data와 Swift Data는 데이터를 저장하는 파일의 형식이 다른데 어떻게 가능한걸까?


그래서 직접 해본 결과
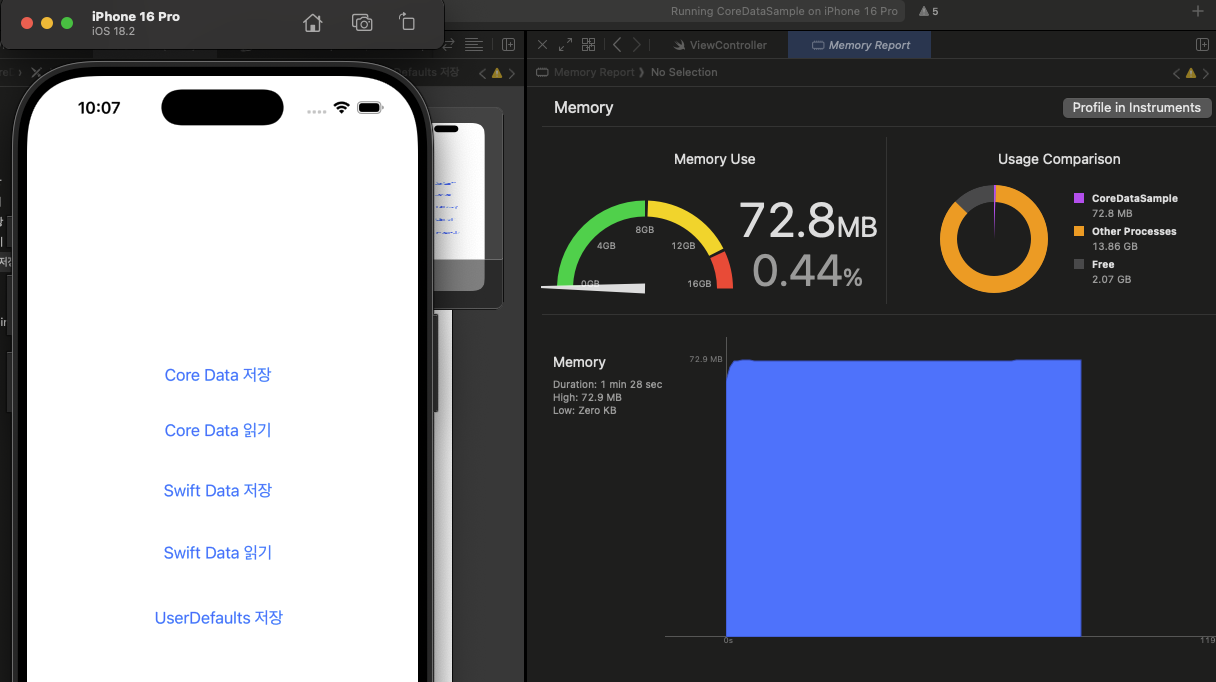
coreDataContainer = NSPersistentContainer(name: "CoreDataSample", managedObjectModel: model)
if let description = coreDataContainer.persistentStoreDescriptions.first {
  let url = FileManager.default.urls(for: .libraryDirectory, in: .userDomainMask).first!.appending(path: "Application Support/default.store")
  description.url = url
  description.setOption(true as NSNumber, forKey: NSPersistentHistoryTrackingKey)
}
coreDataContainer?.loadPersistentStores { _,_ in }
위와 같이 Core Data의 Container를 구성할 경우 기존 .sqlite 파일 대신 Swift Data와 같이 .store 파일을 공유할 수 있다.
만약, .sqlite 파일을 공유하고 싶다면 아래와 같이
let url = FileManager.default.urls(for: .libraryDirectory, in: .userDomainMask).first!.appending(path: "Application Support/CoreDataSample.sqlite")
let schema = Schema([Trip.self])
let trips = ModelConfiguration(
    schema: Schema([
        Trip.self
    ]),
    url: url
)
self.swiftDataContainer = try! ModelContainer(for: schema, configurations: trips)
UserDefaults는 왜 작은 값 저장에만 사용될까?
UserDefaults의 경우 앱 실행 시 한번에 데이터를 가져와 메모리에 로드하기 때문!
'iOS&Swift' 카테고리의 다른 글
| Library와 Framework 언제 사용해야 할까?(with. iOS) (0) | 2026.02.17 |
|---|---|
| [Swift] @Environment에 대해 알아보기(Property Wrapper 3편) (0) | 2024.01.20 |
| [Swift] @ObservedObject와 @StateObject의 차이에 대해 알아보기(Property Wrapper 2편) (0) | 2024.01.20 |
| [Swift] @State, @Binding, @Published 대해 알아보기(Property Wrapper 1편) (0) | 2024.01.19 |
| [Swift] Alamofire의 RequestInterceptor을 사용해 토큰 갱신하기 (0) | 2024.01.18 |


